3 Steps for Connecting Garage Doors to Wi-Fi
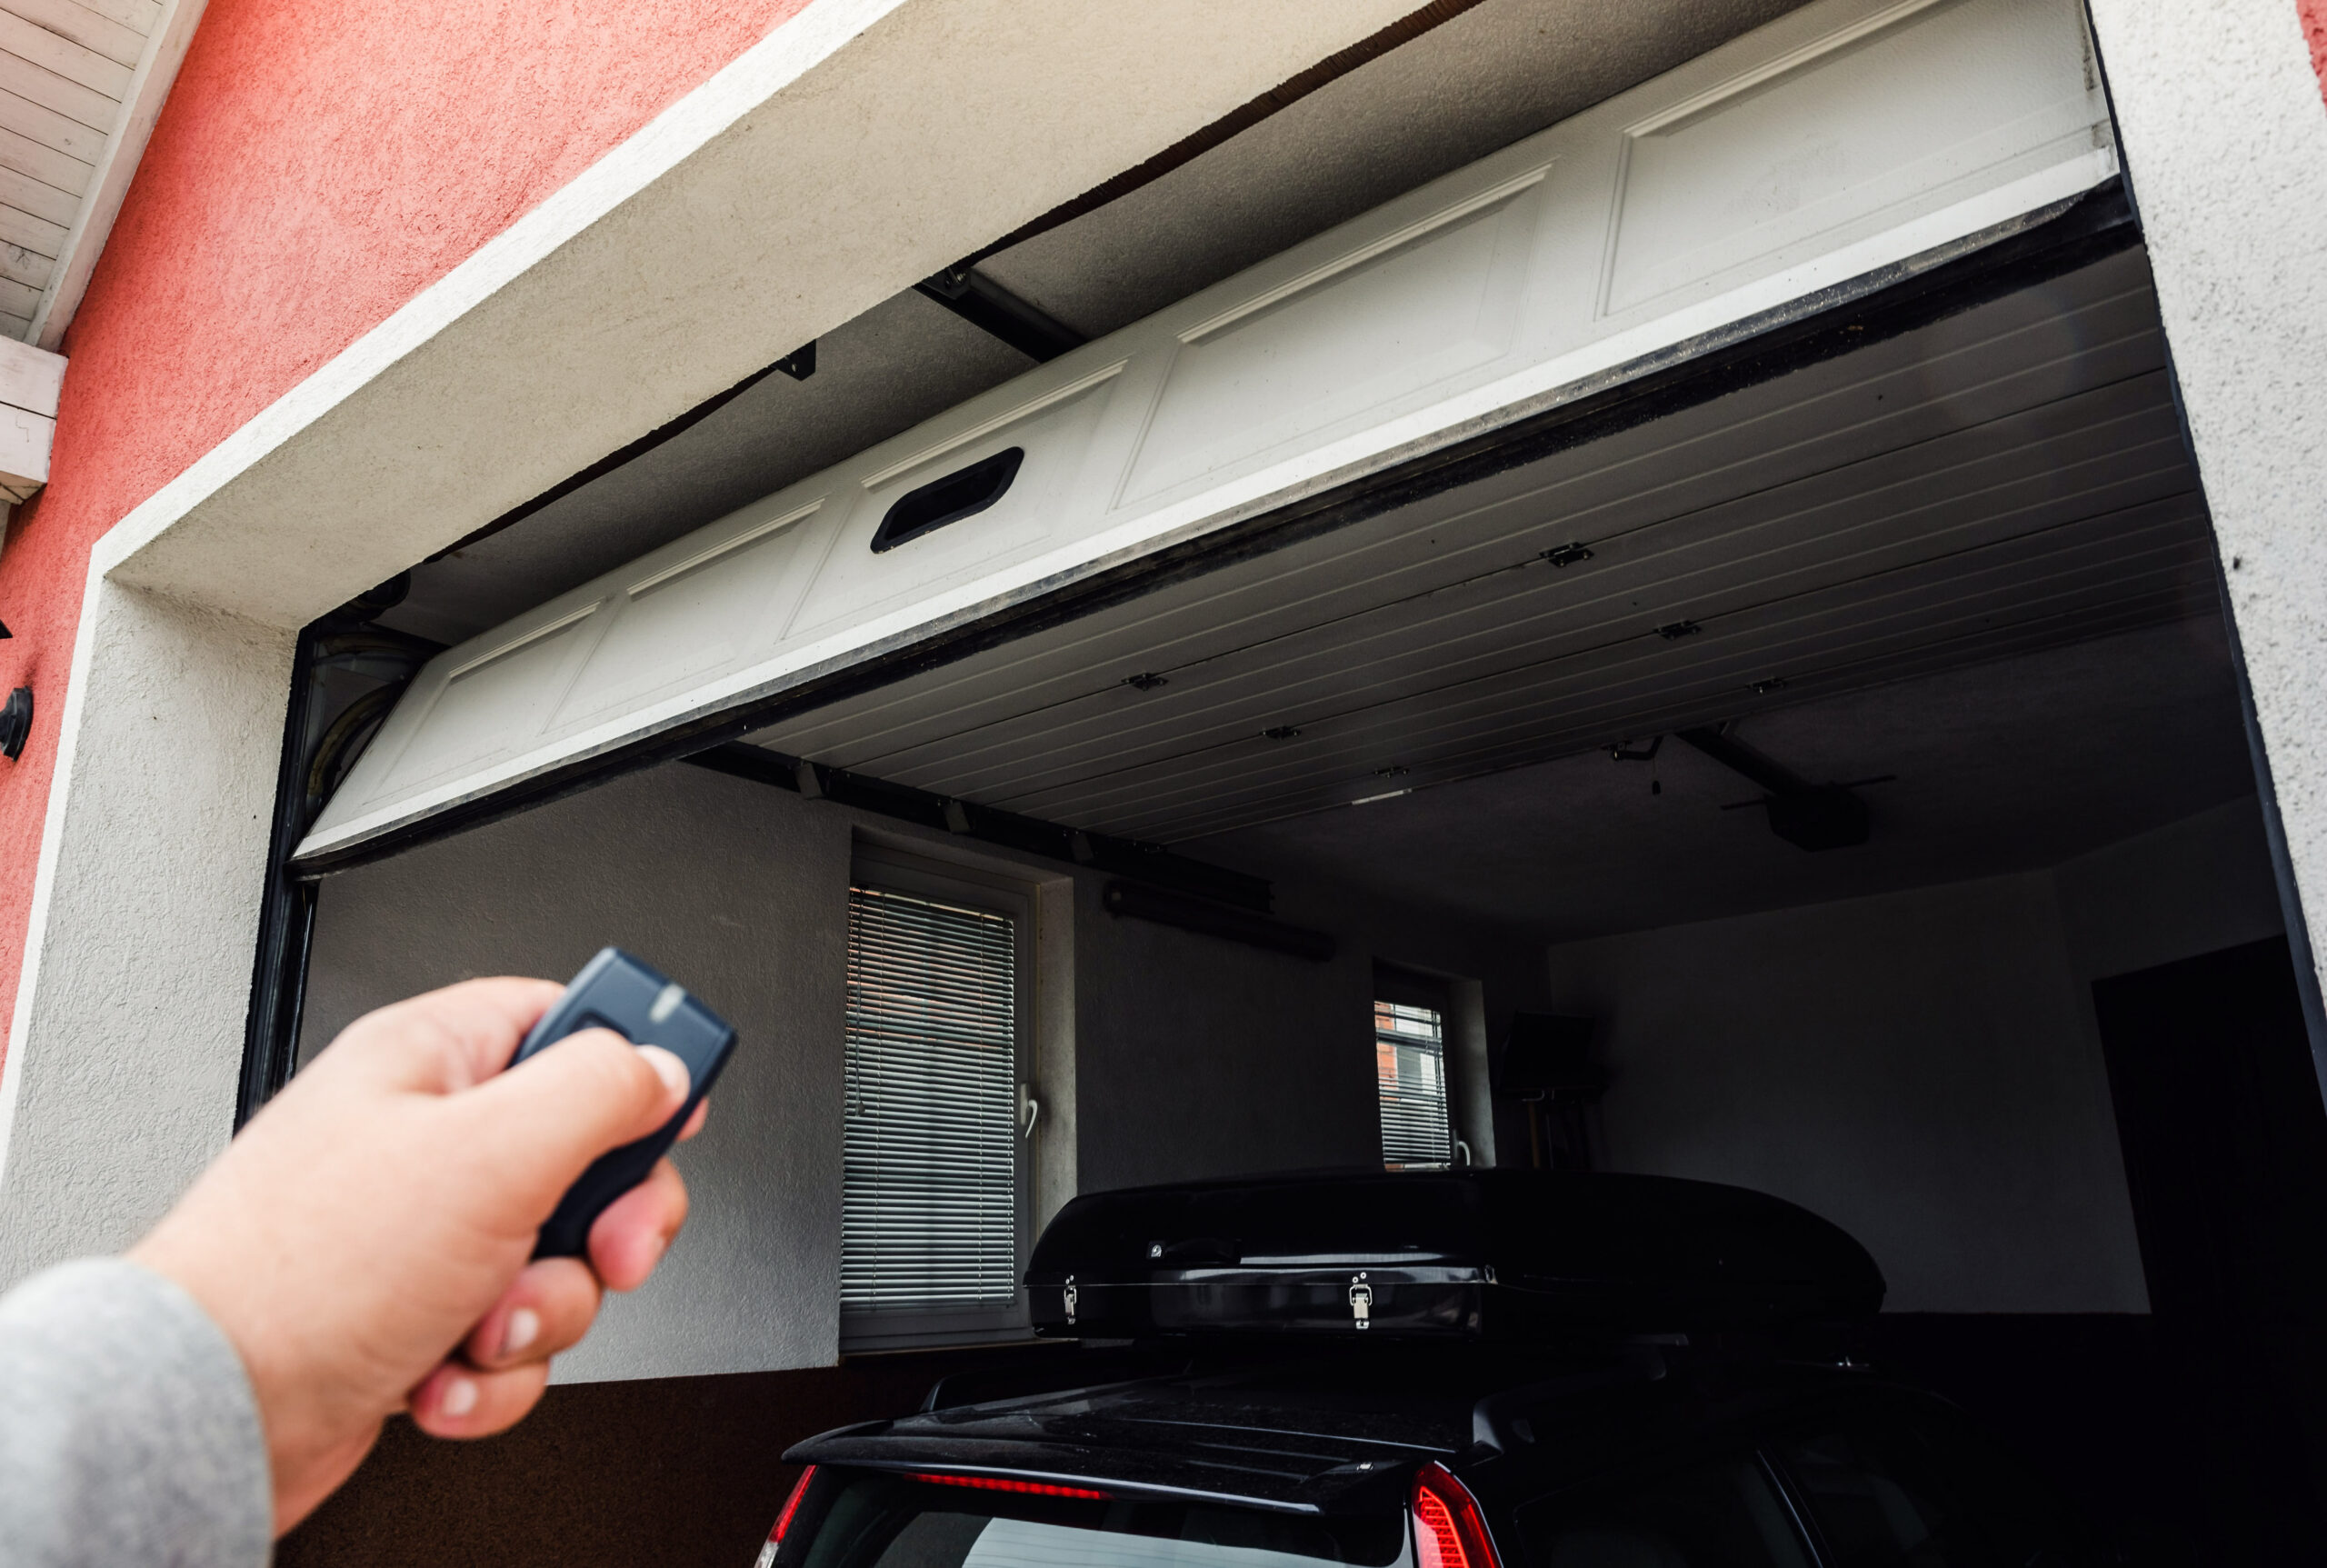
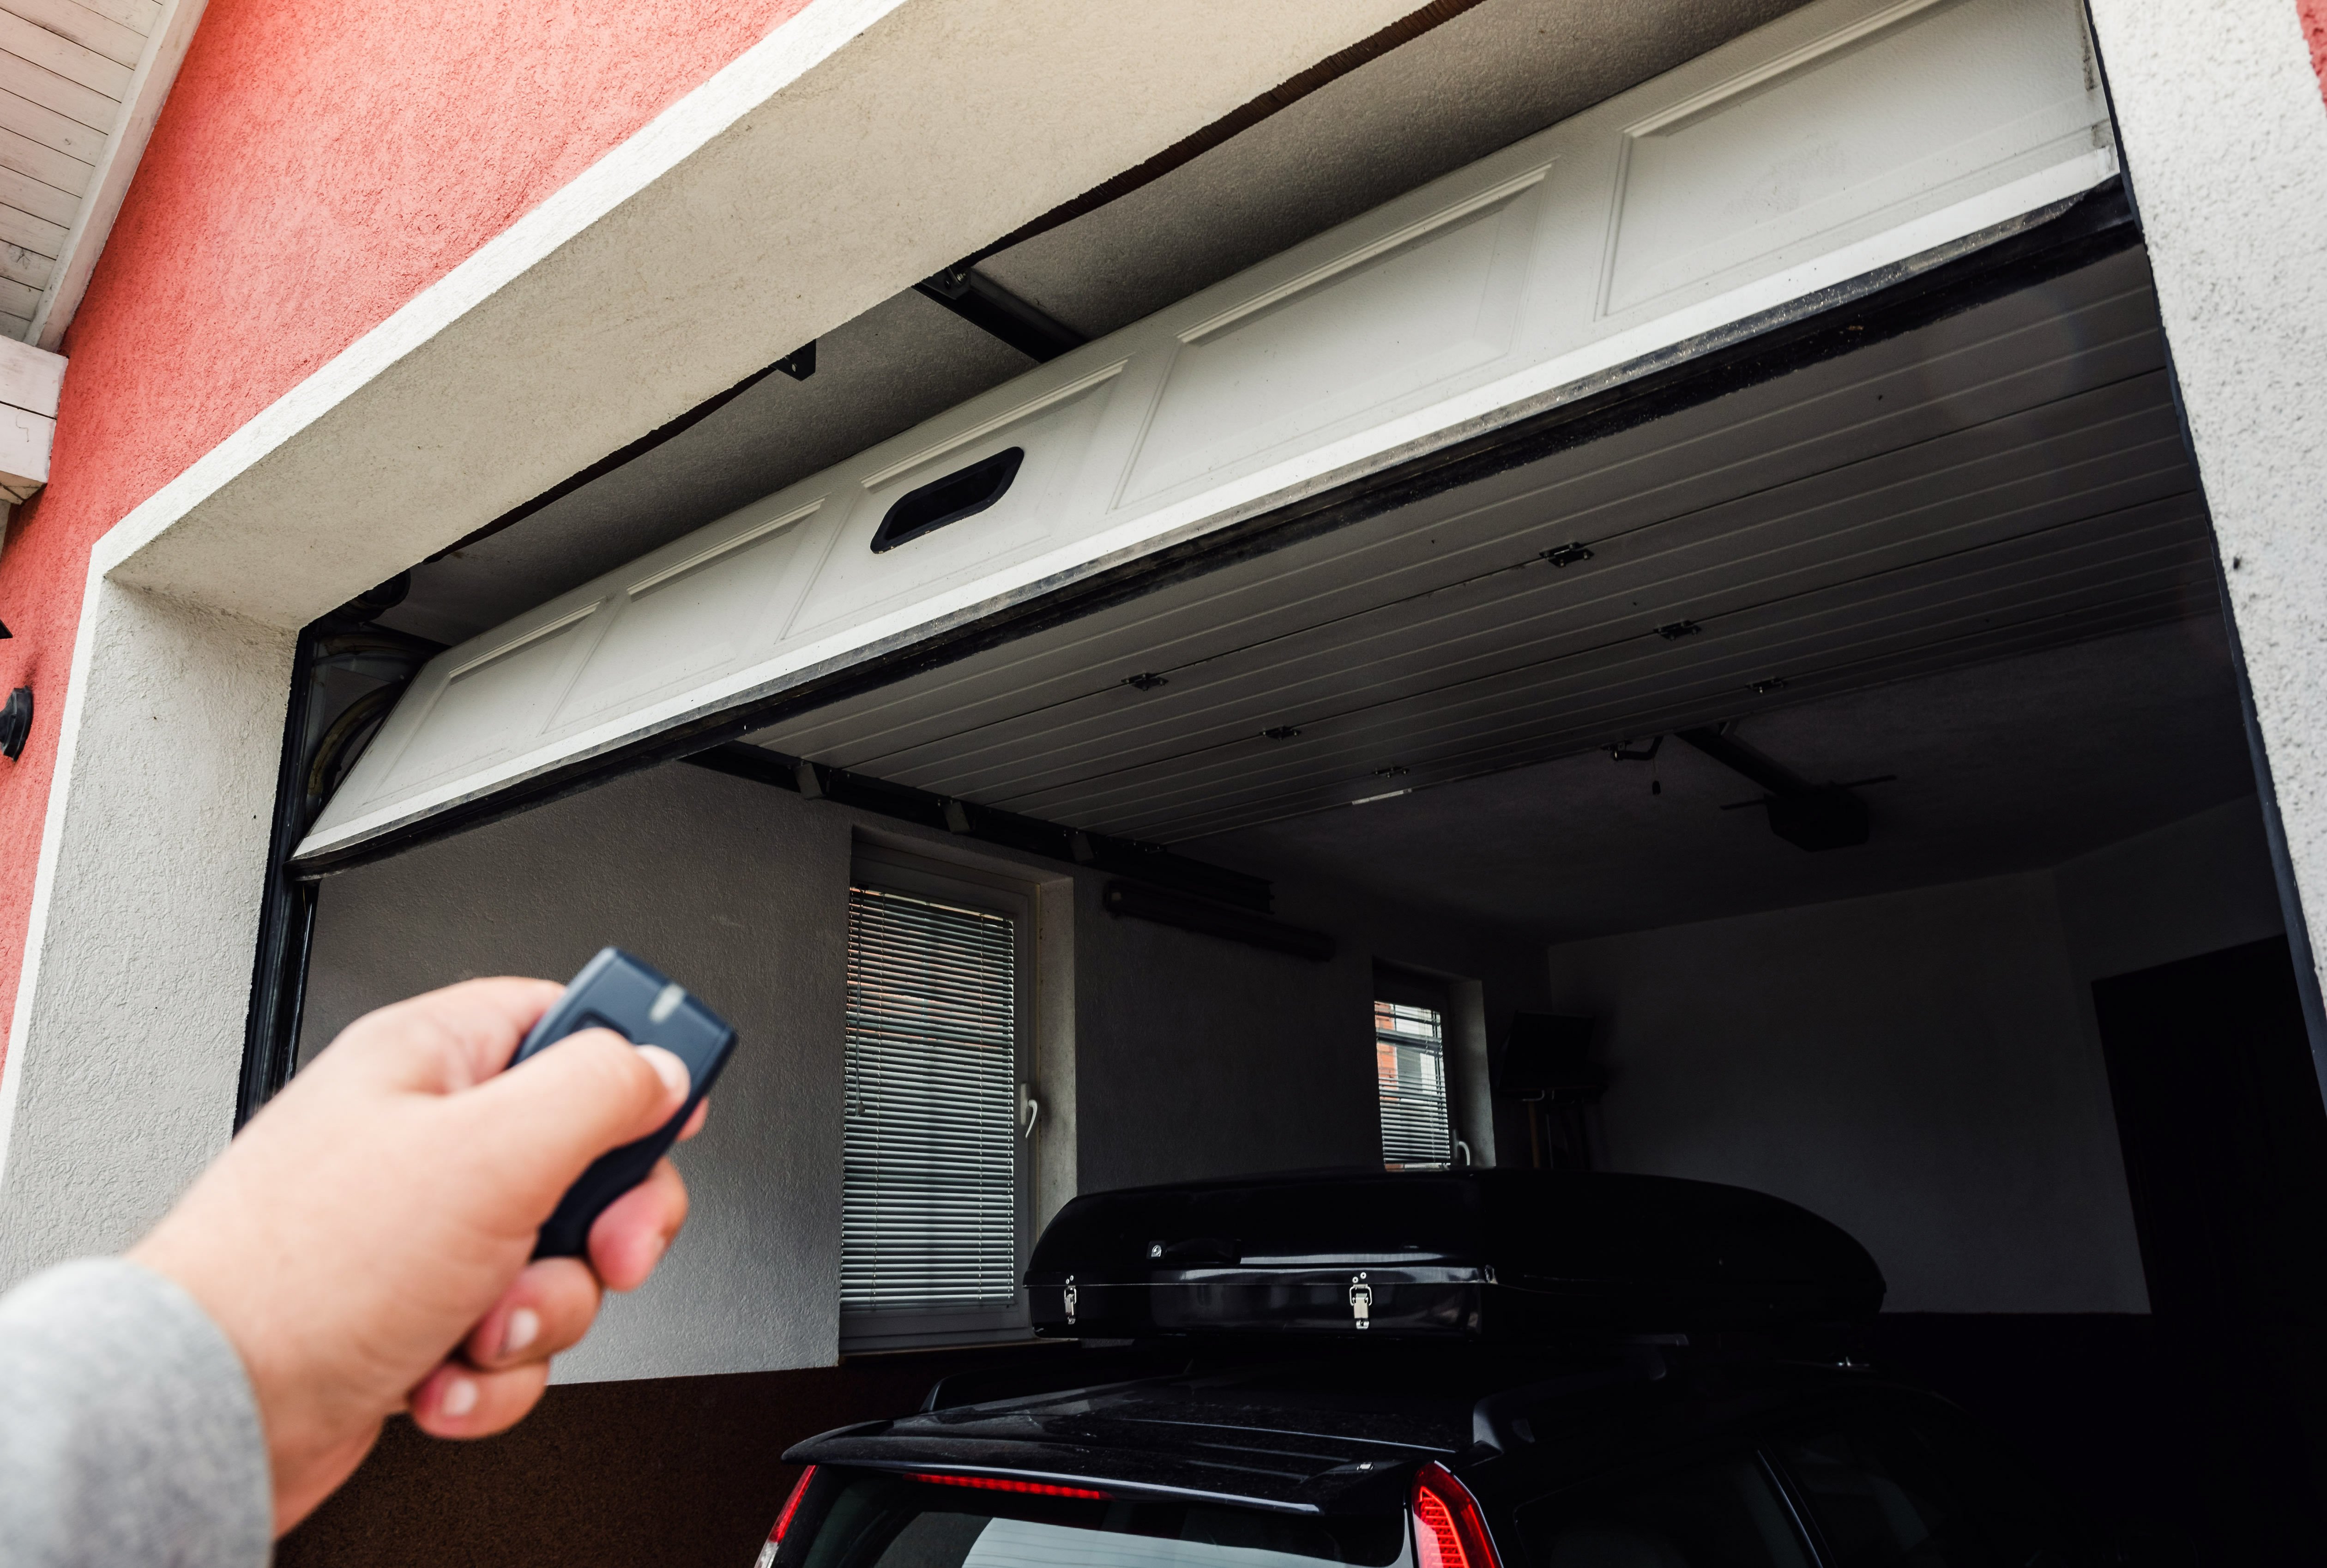
Garage doors are an instrumental part of most homes for both aesthetic and security reasons. Garage door openers, on the other hand, are a major hassle. Clunky to hold, prone to malfunction and all around a relic of times gone by, many people have rightly turned to replace these devices with their phones thanks to new technology. If you’d like to be on the cutting edge of a more convenient life, follow these three steps for connecting garage doors to Wi-Fi.
1. Check Your Connection
You can’t convert your garage door system to work with Wi-Fi if your signal doesn’t reach the garage. Before you go out to buy the necessary equipment, test how strong your Wi-Fi is in the areas it needs to be used. There are plenty of apps out there that can do this for you. If you find that it’s too weak for a reliable connection, you can do a number of things to remedy that problem like moving your router or boosting the signal.
2. Install a System
Once the Wi-Fi situation is taken care of, next comes installing the opener system itself. This can be as simple as sticking a small bobble against your existing system and connecting a few wires to as complex as replacing a large amount of your current system. With a little hard work and the ability to follow directions, it shouldn’t be too much trouble. If you do require assistance, though, you can always contact a Fresno garage door repair service to help you out.
3. Connect Your Phone to Wi-Fi
With your new system set, now comes actually using it. Most Wi-Fi garage door opener systems rely on a proprietary app to function. Download that to your phone(s) and follow the instructions to pair with your specific system. In only a few moments, you should be ready to go.


